
Push Notification capabilities for iOS, watchOS, tvOS, and macOS rely on the the Apple Push Notification Servers (APNS) platform to send notification data to devices.
From a very high level view, there are two parts to the Push Notification puzzle.
- A connection between your app and APNS when the app is initially launched on the device.
- A connection from APNS to your app’s server/notification provider.
The APNs platform relies on Apple-supplied certificates that expire after one year.
The certificate I have in place for GodTalk is expiring soon, so I needed to create a new one.
In this post, I’ll describe how to:
- Generate a new certificate
- Register an app with the certificate
- Export the certificate
- Apply it to a server/notification provider; in the case of GodTalk; Azure Notification Hubs.
Generate Certificate Singing Request (CSR)
To begin the process, you can start by generating the CSR file. This file is what’s used to create the certificate.
Open Keychain Access.app and in the menu, select Creative Assistant > Request a Certificate From a Certificate Authority….
That opens up this dialog:

- Enter your email address and Common Name
- Leave the Request as Saved to Disk (keep track of where you saved this, you’ll need this later when we generate the certificate.)
Register Your App for Push Notifications
Next up, it’s time to Edit the AppId in your Account within the iOS Developer Portal to create a new certificate.
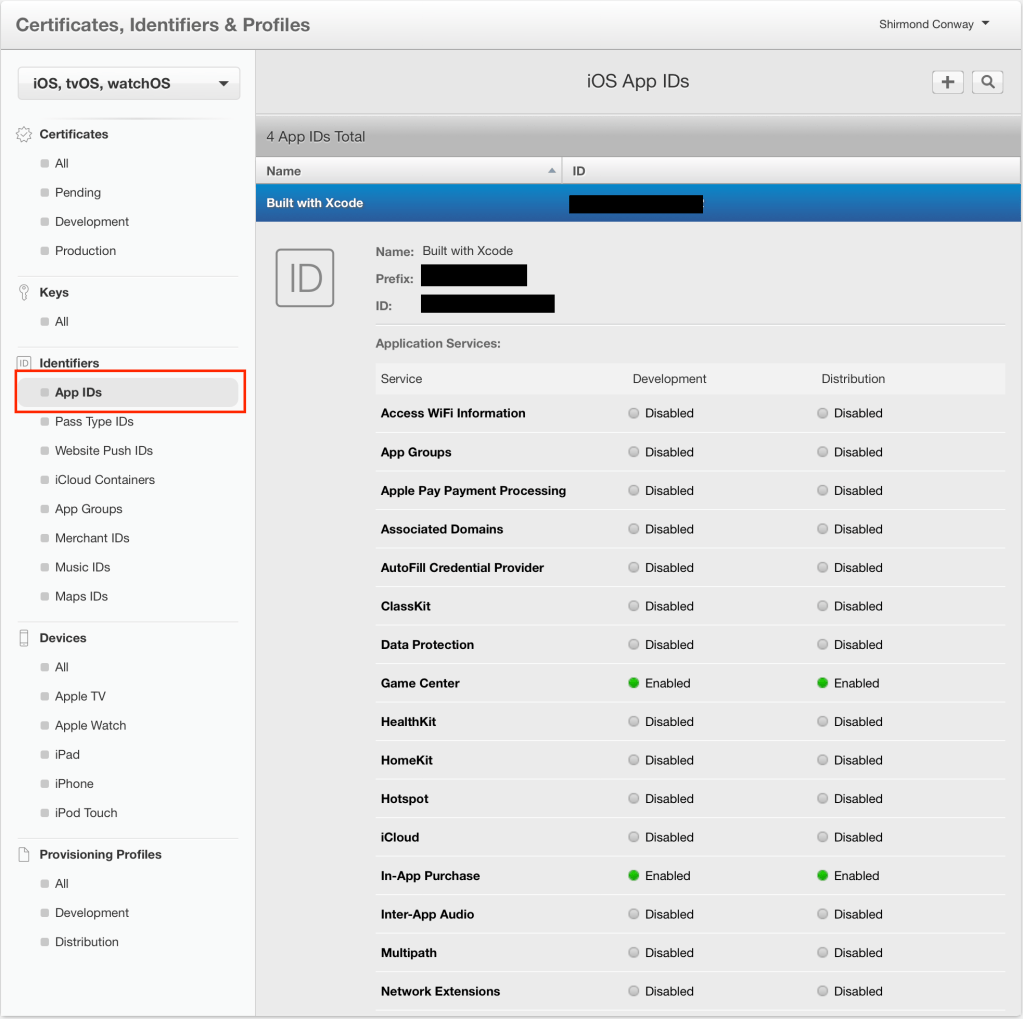
After selecting the AppID, scroll down and click the Edit button. This will allow you to edit all of the Application Services associated with the app.
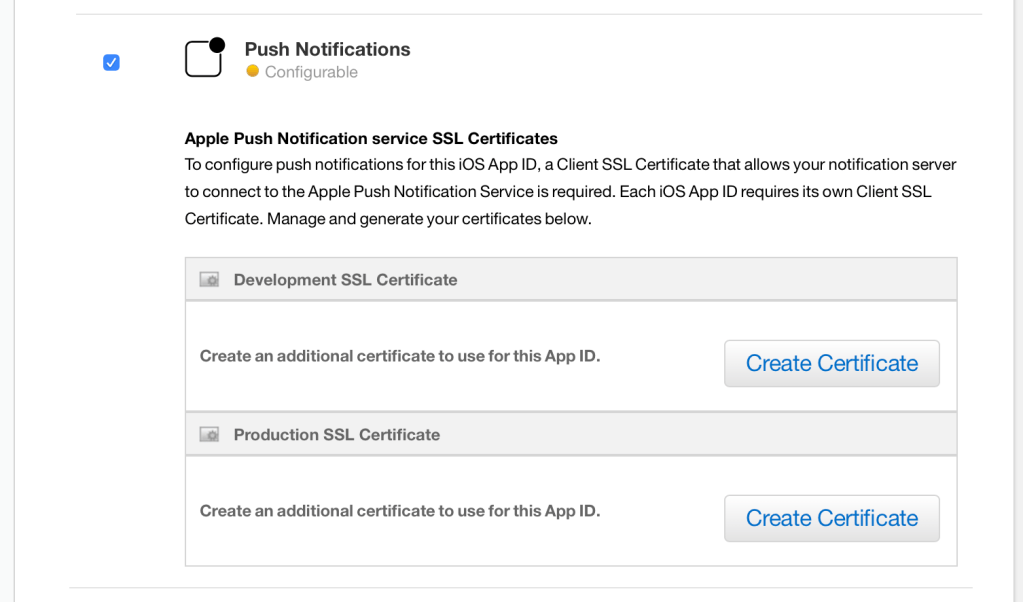
If you have an existing certificate, you will see it listed within the respective environment. The Development and Production certificates cannot be shared between environments so a new certificate is required for each.
Click Create Certificate and click Continue to proceed to Step 2, Generate Certificate.
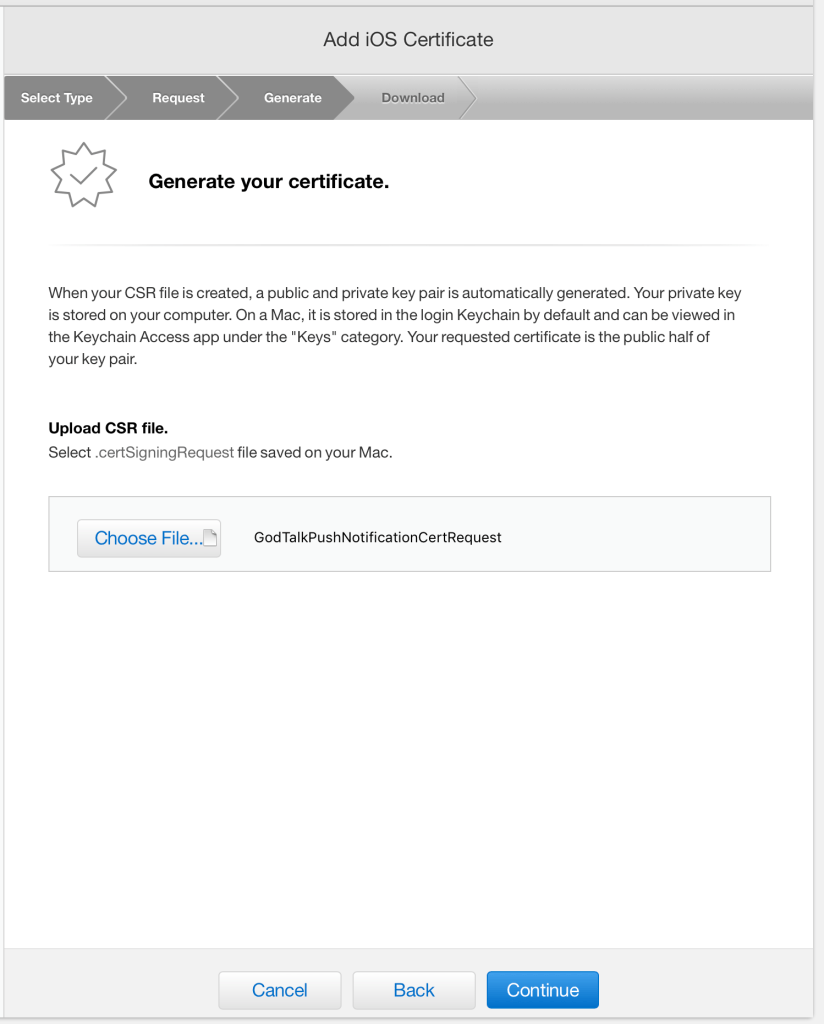
Remember that CSR file I said to keep track of, click Choose File… and upload that boy.
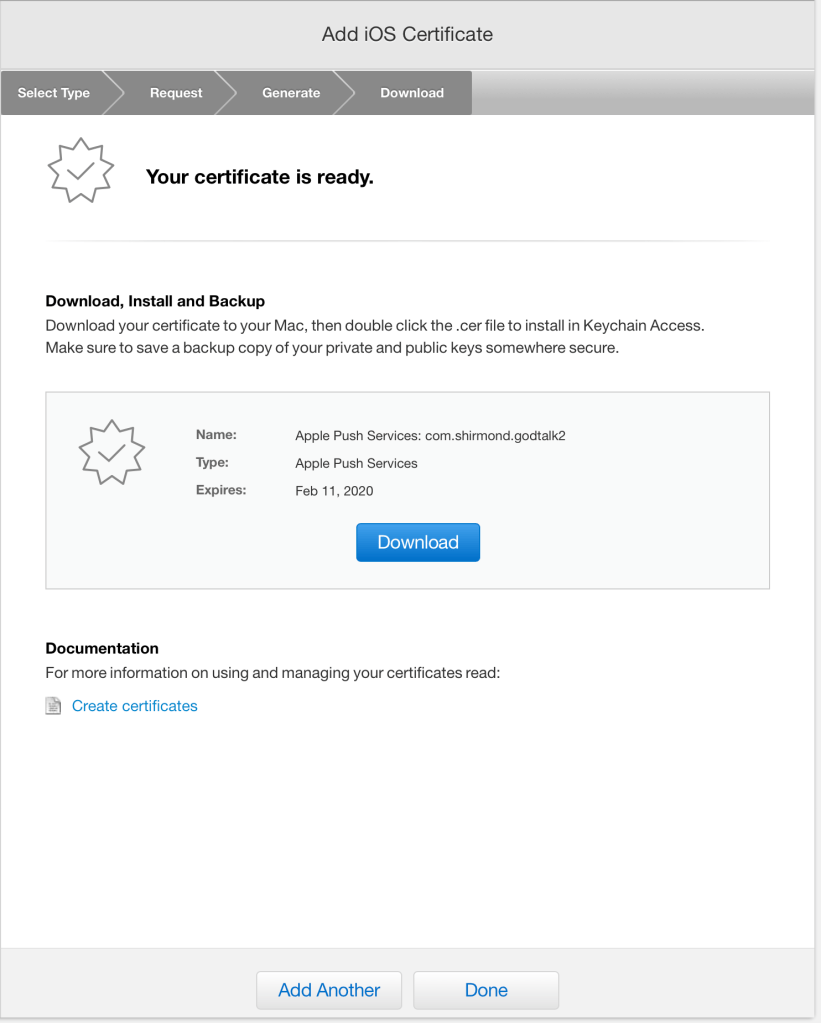
To verify the certificate’s Type and Expiration Date, navigate back to the AppID and click Edit, scroll to Push Notifications and view the certificate applied.
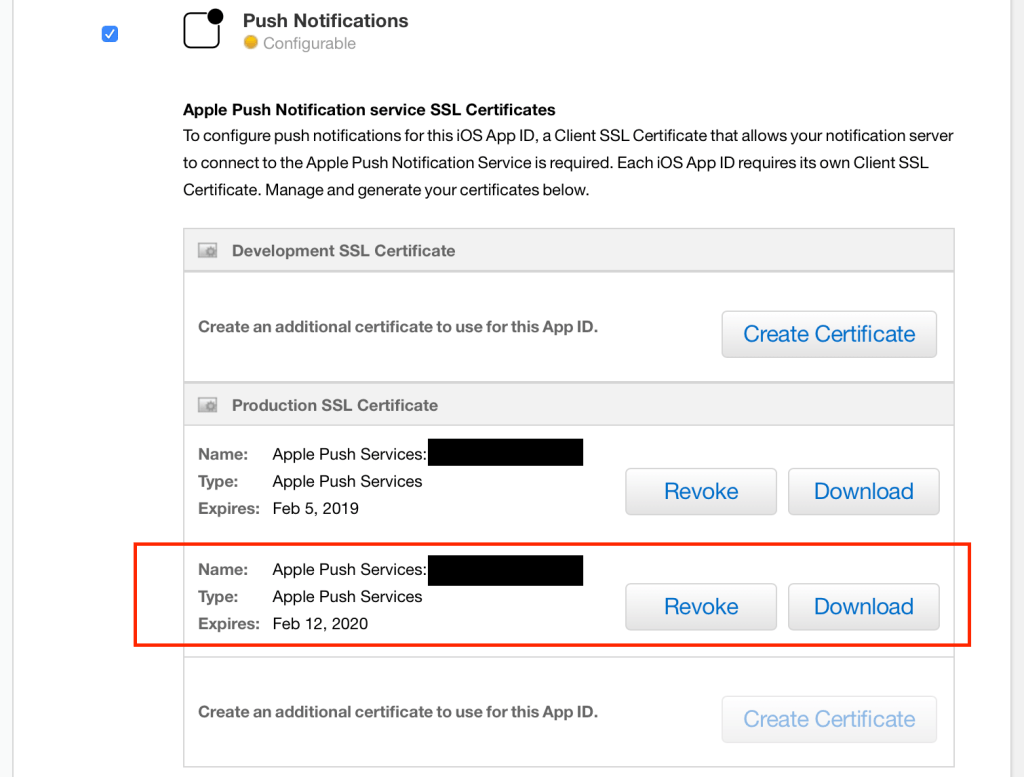
Now, download the Certificate and store it in its home. Once downloaded, double-click the file to install it into the Keychain.
Export Certificate
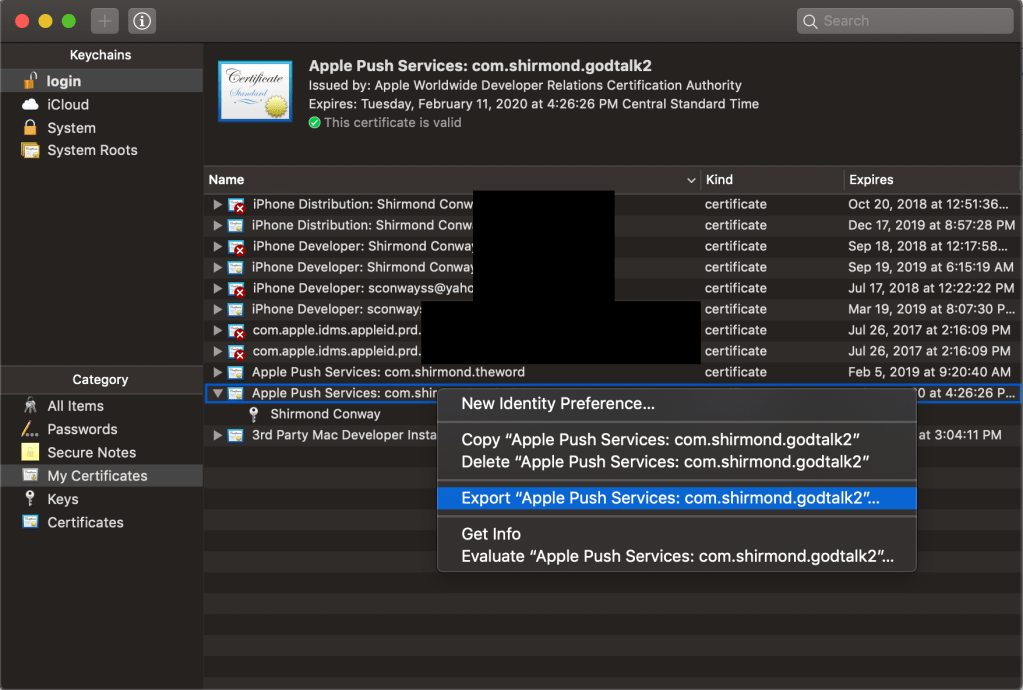
- Open Keychain Access.app
- Right-click on the new certificate, select Export Apple Push Services…
- Select a storage location
- Set a password
- Enter your machine password
Configure Azure Notification Hub

- Navigate to your Notification Hub and click APNS
- Upload the certificate for Production
- Enter the generated password
- Click Save

At this point the certificates are set for both pieces of the APNS puzzle. No need to submit an update for this to take affect as long as the certificate was added using the same AppID that was used when initially submitted.
